Need help folding your custom mailer box? Follow this step-by-step guide to learn how to fold a mailer box quickly and correctly. This method applies to most of our popular mailer sizes and works best when done on a flat surface.
Step-by-Step: How to Fold a Mailer Box
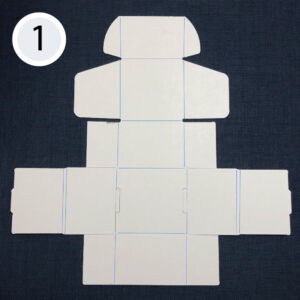
Step One:
This is showing the inside of a mailer, with the “fold” lines highlighted in blue.
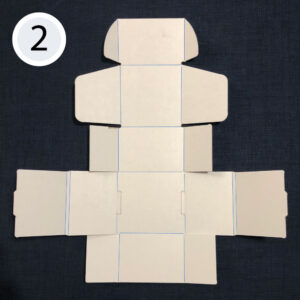
Step Two:
To make it easier to fold your mailer, first pre-fold each of the panels.
Please take care while folding the panels to avoid bending them more than 90-degrees or pressing too hard.
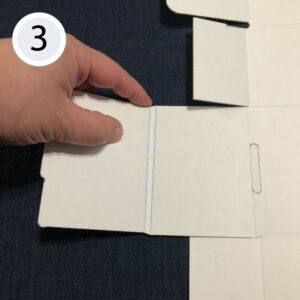
Step Three:
Your mailer boxes will have two folds (very close together) on both the right and left side of the box. It’s important to ensure each of these are folded well as this will ensure the sides properly lock into the tabs on the bottom of the box (this will be shown more in step five).
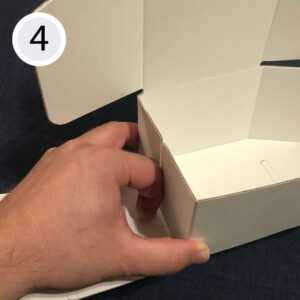
Step Four:
Next, you’ll form the sides of the mailers by folding up the front and back panels, bringing their tabs together as shown in this image.
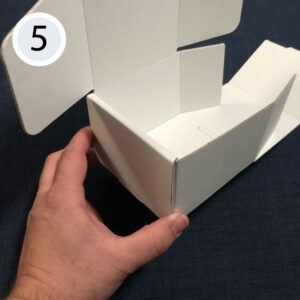
Step Five:
Fold the side panel up and then tuck it over and into the inside of the mailer, you should feel the tab lock into the slots on the bottom of the box.
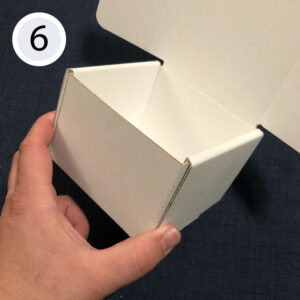
Step Six:
Repeat step five for the other side of your mailer
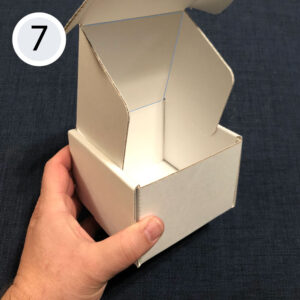
Step Seven:
Tuck the flaps so they are on the inside of your mailer
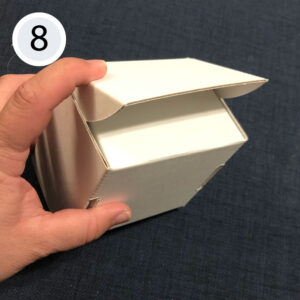
Step Eight:
Tuck the two top flaps so fit into the slots on the front panel of your mailer
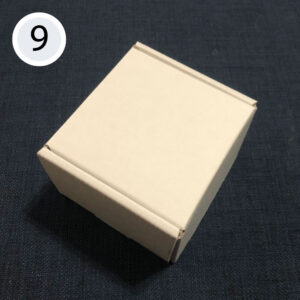
Done:
Your mailer is ready
Need Design Help?
Upload your artwork along with any instructions, and our expert design team will help create a personalized packaging proof within 48 hours — completely free!